How-To · 8 min read
Image to Sketch AI: Turn Photos Into Pencil Drawings
Turn any photo into a pencil sketch with AI, then clean up the lines in words. See how image to sketch works, what the free converters do, and the exact steps.

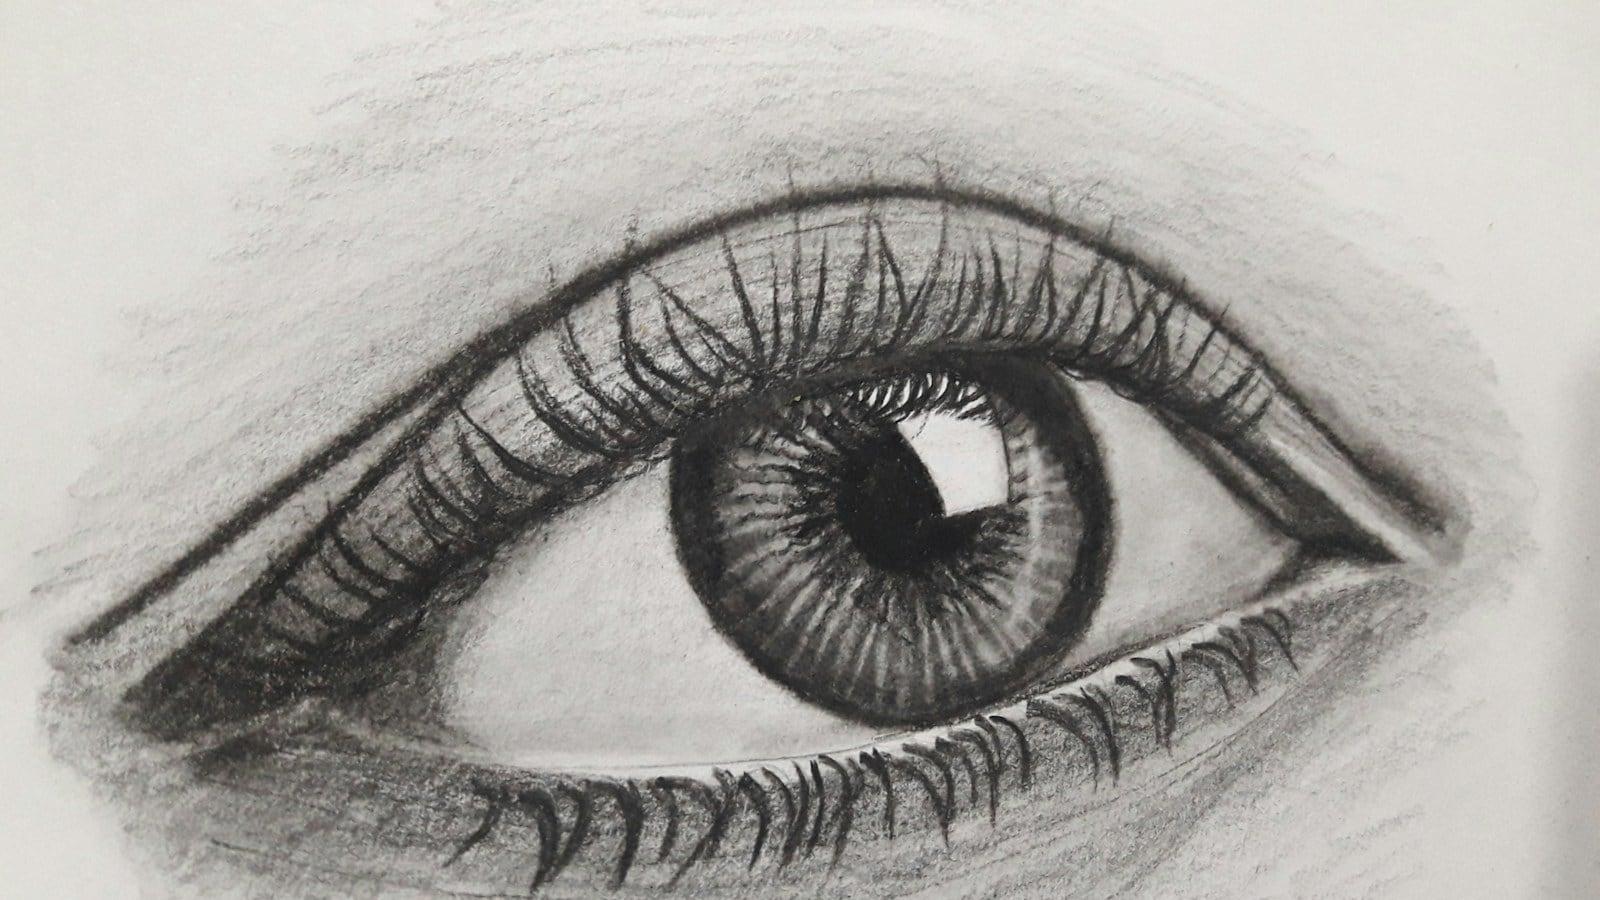
Image to sketch AI turns a photo into a pencil drawing: you upload a picture, the tool rebuilds it as lines and shading, and you keep the sketch. Most tools do one direction only. imageonline.co, kaze.ai, Bylo.ai, VanceAI and PromeAI convert photos into sketches; OpenArt and Adobe Firefly take rough drawings the other way into finished art. Lartist covers both: restyle applies an art style, so choose a pencil or line art style, then fix anything wrong in words in the studio editor.
What image to sketch AI does
Image to sketch AI means one direction: a photo goes in and a drawing comes out. The composition, the pose and the face stay recognisable, and the detail is rebuilt as strokes.
PromeAI is the fullest example. Its Photo to Sketch page is written for architects and designers, with sections for architectural design, animation and games, fashion design and graphic design. It promises accurate shapes, authentic hand-drawn lines and versatile styles, and sells plans to individuals and to companies.
OpenArt and Adobe Firefly sell the opposite. OpenArt keeps your composition and fills in style, colour and detail in seconds; Firefly turns hand-drawn sketches, rough drawings and digital line art into finished images.
So the direction decides the tool. Photo in, drawing out is image to sketch. Drawing in, picture out is sketch to image, a different job with a different set of tools.
People use the sketch for avatars, gifts, book interiors, listings and portfolio pieces, where it has to hold together at full size.
If you want both directions in one place, Lartist does restyle for the photo side and sketch to image for the reverse.
Photo to pencil sketch tools compared
The tools split by direction, and this table is what each page claims for itself.
imageonline.co is the plainest of the converters. You upload, set pencil thickness with a slider, press Pencil Sketch, and the server returns the drawing. Its page says the process combines negate, blur, colour dodge and modulate. It also answers the privacy question directly: your photo goes into a user session folder under a complex file path in a temp directory, and it is deleted once the queue fills on the server.
Bylo.ai promises instant pencil sketches online, and VanceAI offers more types: pencil sketches, line drawings, anime outlines and architectural sketches.
PromeAI's how-to starts with uploading your image to Photo to Sketch, then converting it in one of its styles. The rest of the page is built around designer scenarios. Architects turn building photos into line drawings; animation and games work turns real-life photos into comic scenes; fashion design converts clothing layout diagrams in one click; graphic design builds illustrations from simple line drawings.
When you test two, compare the same photo side by side at full size. Look at the eyes, the hands and the edge of the background, where a quick sketch usually breaks.
Turn a photo into a sketch in Lartist
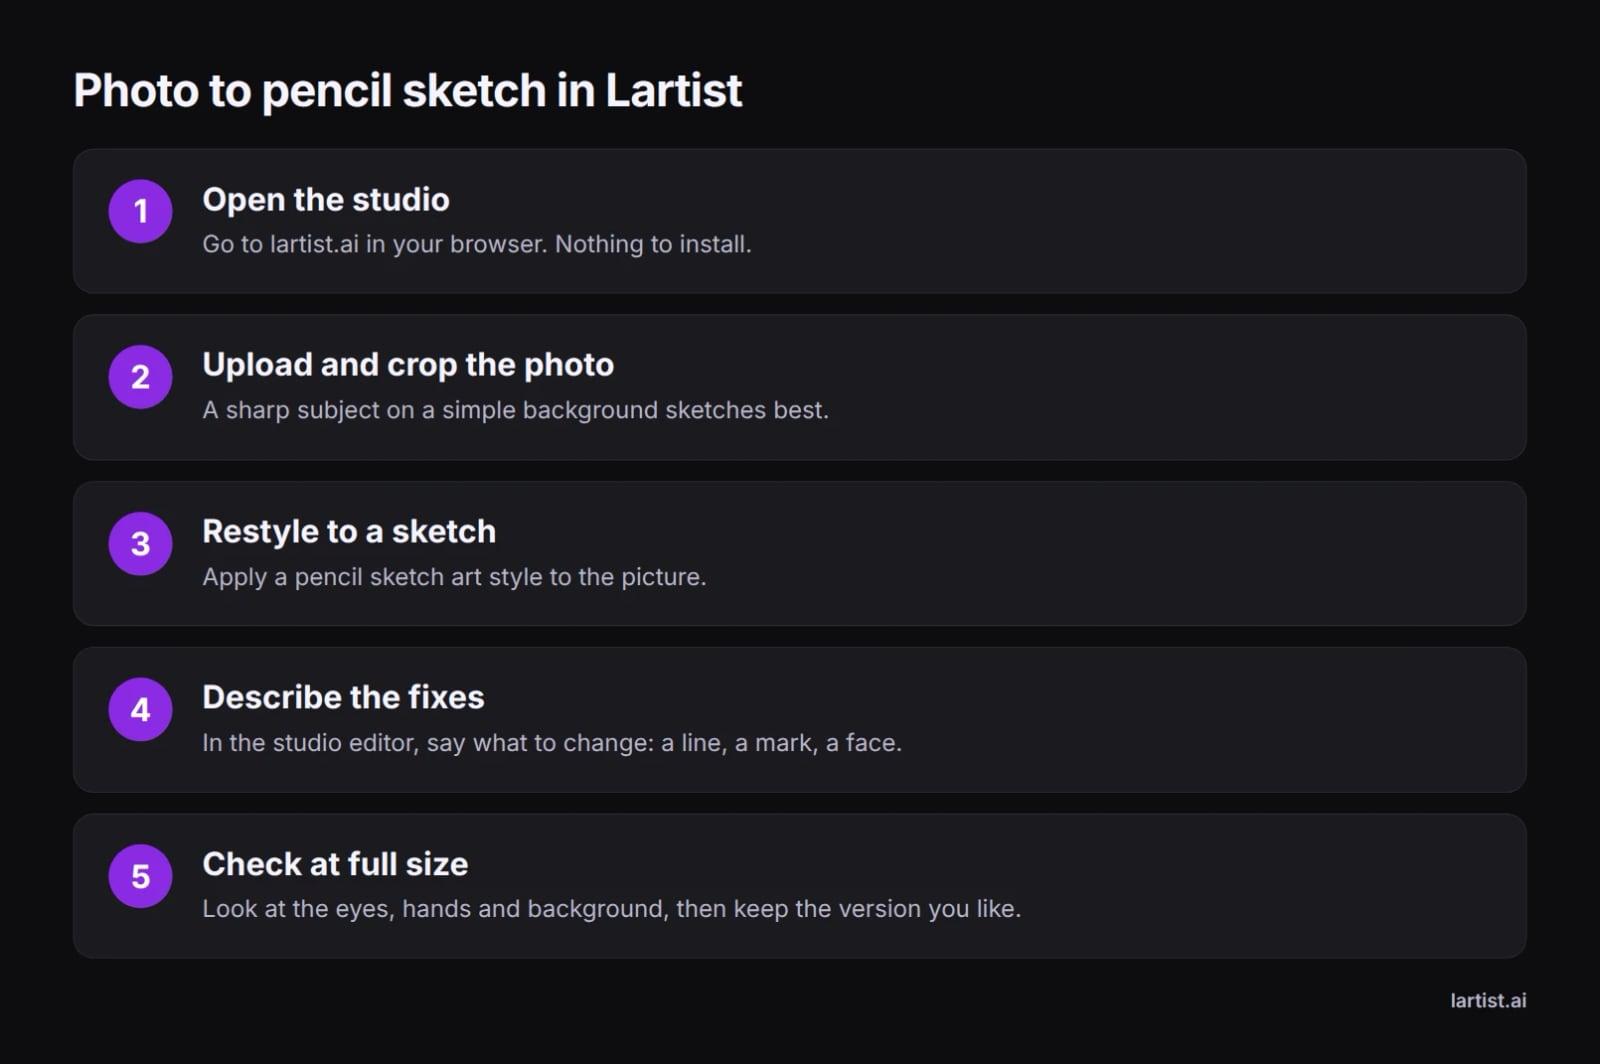
- Open lartist.ai. It runs in the browser, with nothing to install, and the interface is in English, French and German.
- Crop before you upload. A face that fills the frame sketches better than a small figure in a wide shot, because less of the picture is left to guesswork.
- Restyle the photo. Restyle applies an art style; choose a pencil or line art style.
- Look at the result at full size. If the likeness and the main lines are right, move on. If one feature is wrong, fix it in the editor rather than with a second style.
- Fix it in the studio editor. Describe the change and it redraws the picture, so you can take out a stray mark, thin a heavy line or sharpen a face without starting again.
Every feature spends credits, restyle and the studio editor included. See the plans on /pricing for what each one includes.
What changes between the photo and the sketch
A sketch is not a filter. The picture is rebuilt as marks: edges become lines, shading becomes hatching, and smooth areas become paper.
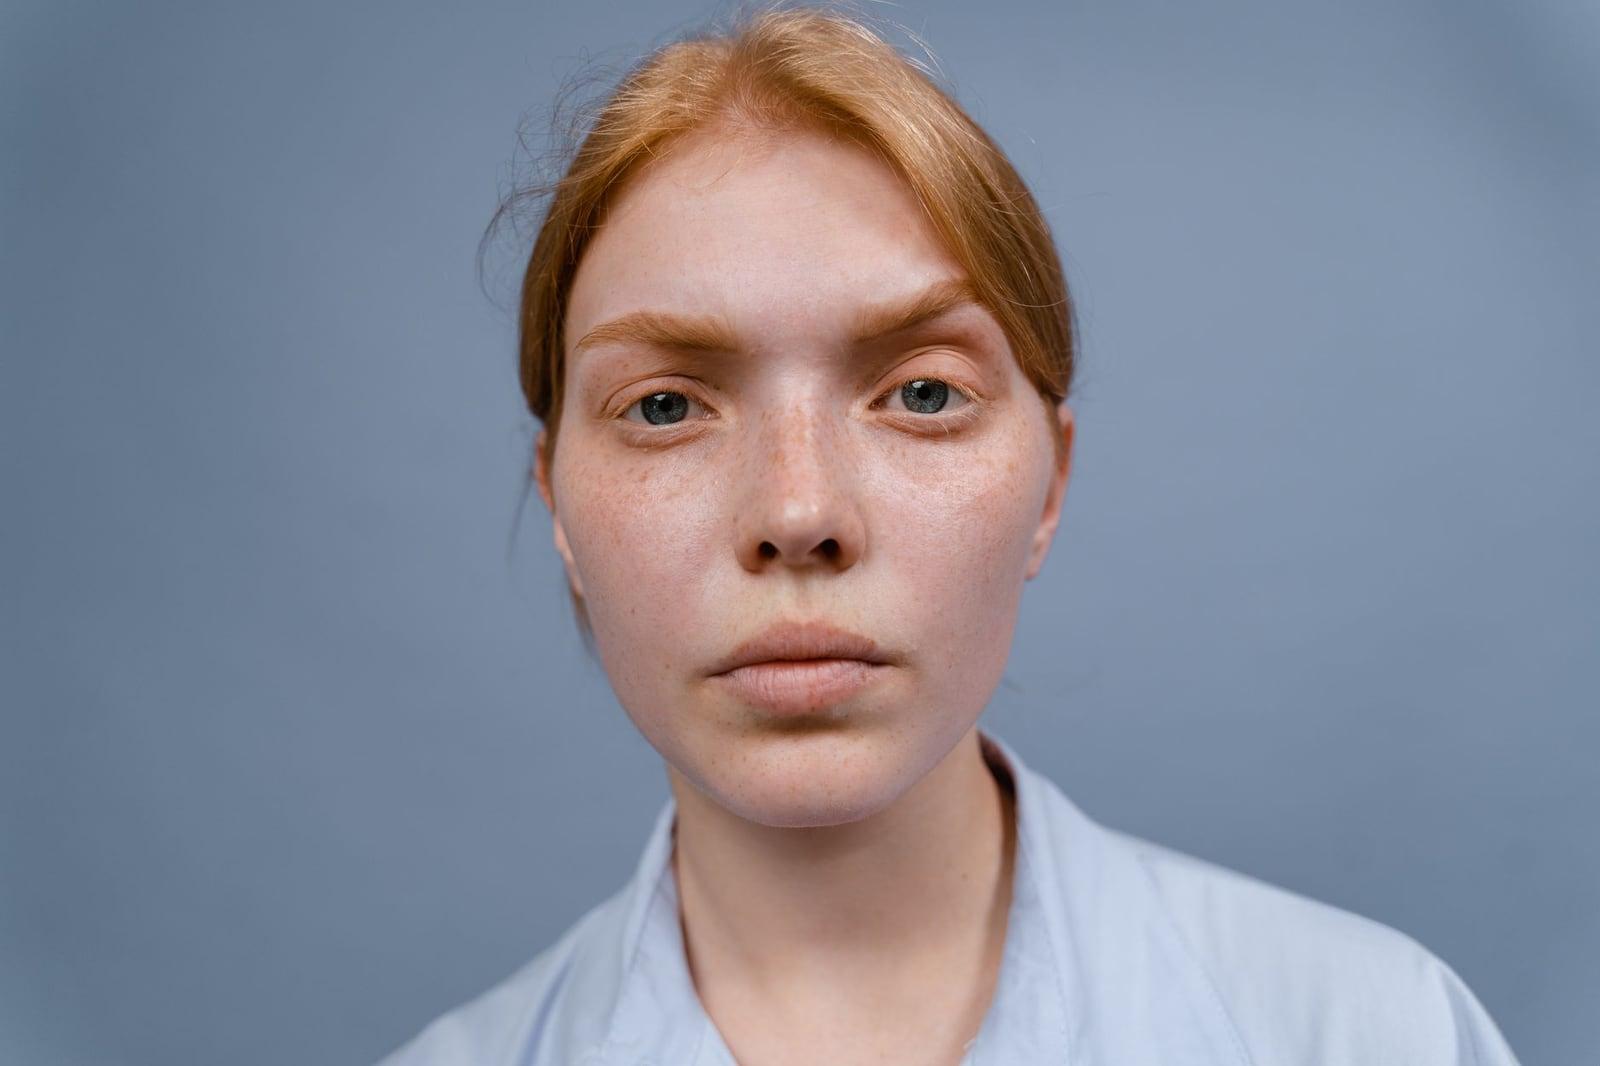
What survives is the silhouette, the pose, the direction of the light and the big shapes. What goes first is texture. Freckles, fabric weave, single hairs and small text all collapse into tone.
Colour goes too in a pencil look. If you want a coloured drawing, sketch first and add colour in a second pass.
That is why a simple photo sketches better than a busy one. A close portrait in even light beats a full-length party shot, even if the party shot is the better photograph.
What to fix, by subject
The art style is set by restyle. After that, words are for fixes: open the studio editor and describe what is wrong.
Portraits and people
Faces lose detail first. Ask the studio editor to hold the shape of the eyes, the hairline and the line of the jaw, and to sharpen a blurred face.
Pets
Fur turns to noise. Ask for loose strokes on the body and crisp strokes around the eyes and nose.
Buildings and interiors
Straight lines wobble. Ask for ruled lines and clean edges, and keep the background plain so the structure reads at thumbnail size.
Product photos
Heavy shading swallows small logos and label text. Ask for an outline with minimal shading.
Animation and games
Comic panels need a clear expression and a flat background. PromeAI's animation and games section describes turning real-life photos into comic scenes, and that is the standard to check your sketch against.
Fashion and graphic design
For fashion, ask for a flat garment outline with clean seams, the kind of clothing layout diagram PromeAI's fashion section describes. For graphic design, ask for a simple line illustration on a plain background.
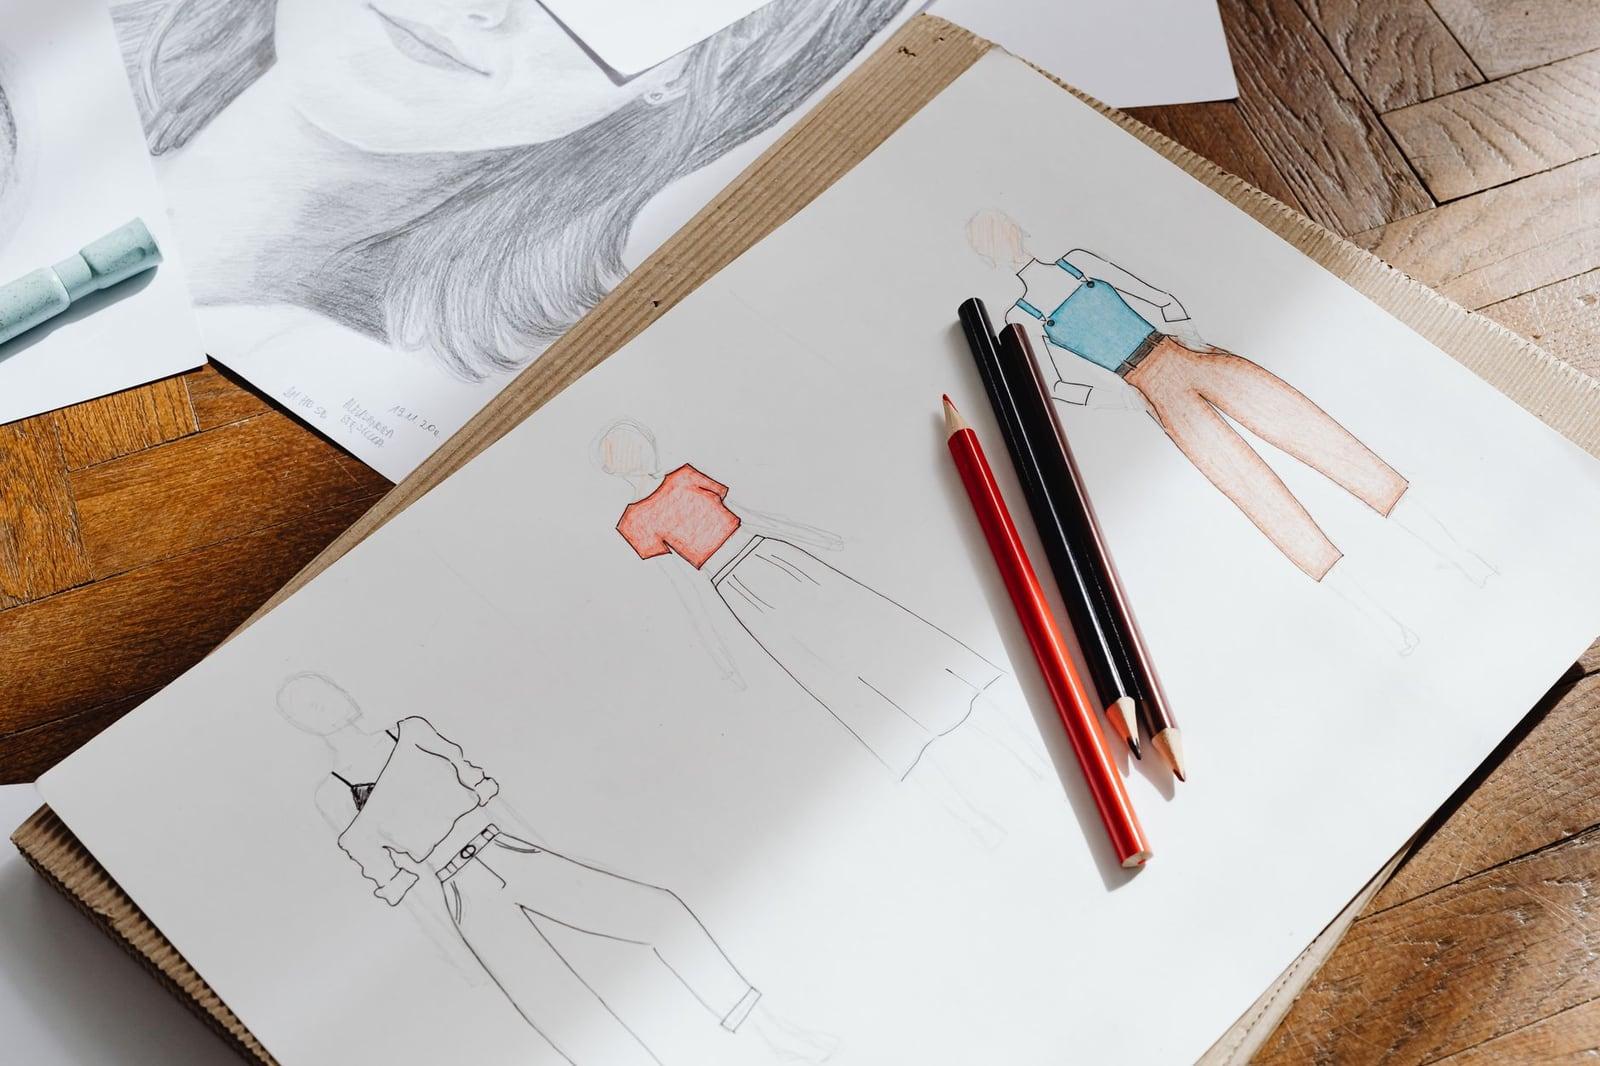
Keep each instruction to one subject and one change. Three fixes in one sentence give the studio editor conflicting instructions.
Say what to keep as well as what to change. "Keep the plain background, sharpen the eyes" holds the frame while the face changes.
Clean up the sketch with words
Every sketch arrives with small faults: a heavy jaw, a hand that smears into the table, a background that drifts to grey.
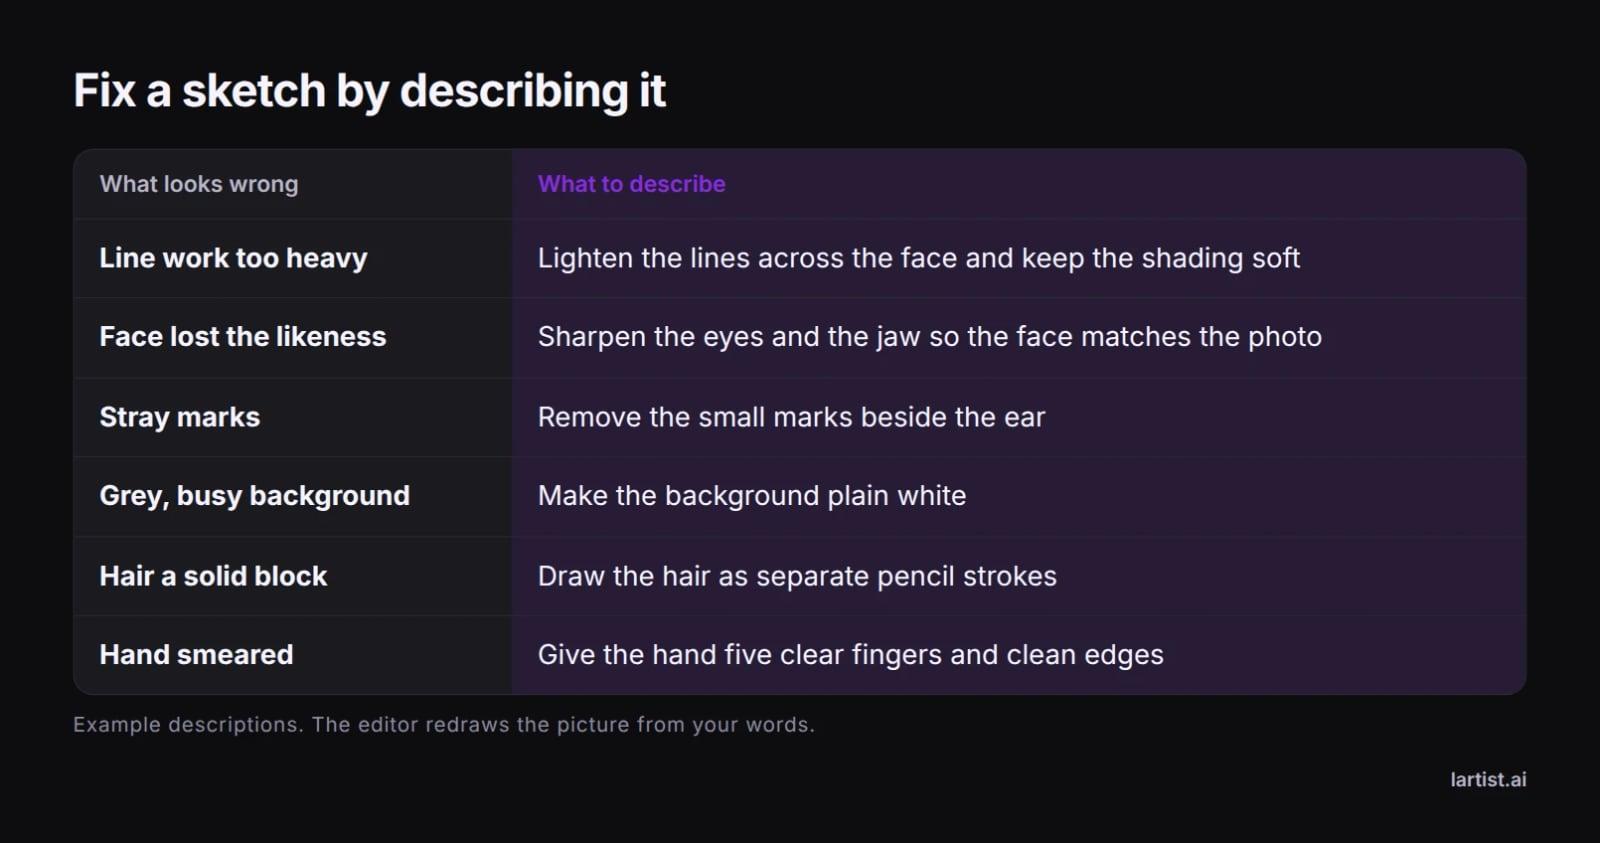
In the studio editor you name the fault and it is redrawn from your words, without starting the picture again.
Work from the big shapes down, from the jaw to the hairline or the edge of a building. Small marks are easier to judge once the outline is right, and one change per instruction gives the editor the clearest job.
If a fix overshoots, describe the correction rather than the whole picture again: make the line lighter, keep the shading.
When the sketch is right but the setting is wrong, change the background as a separate job, as in our guide to changing a photo background.
Free image to sketch tools, and what free gets you
imageonline.co calls its tool "completely free", and VanceAI's page says "free to start". The second phrase is worth reading twice: it usually means the first result costs nothing and the rest do, so check the terms before you commit a set of twenty.
Lartist runs on credits. Restyle, sketch to image, the studio editor and every other feature spend them. Plans give you credits each month or each year, and credit packs top them up.
One sketch: a free converter will do it. A consistent set for a portfolio, a listing or a book: planned credits are easier to work with. See the plans on the pricing page.
Before you keep the sketch
Check the face first. The eyes and the mouth carry the likeness, and they are what a viewer notices before anything else. Then the hands, because a sketch can smear fingers into a single shape.
Then the background and the line weight. A grey haze behind the subject and heavy lines on one side of the face both read as mistakes at full size.
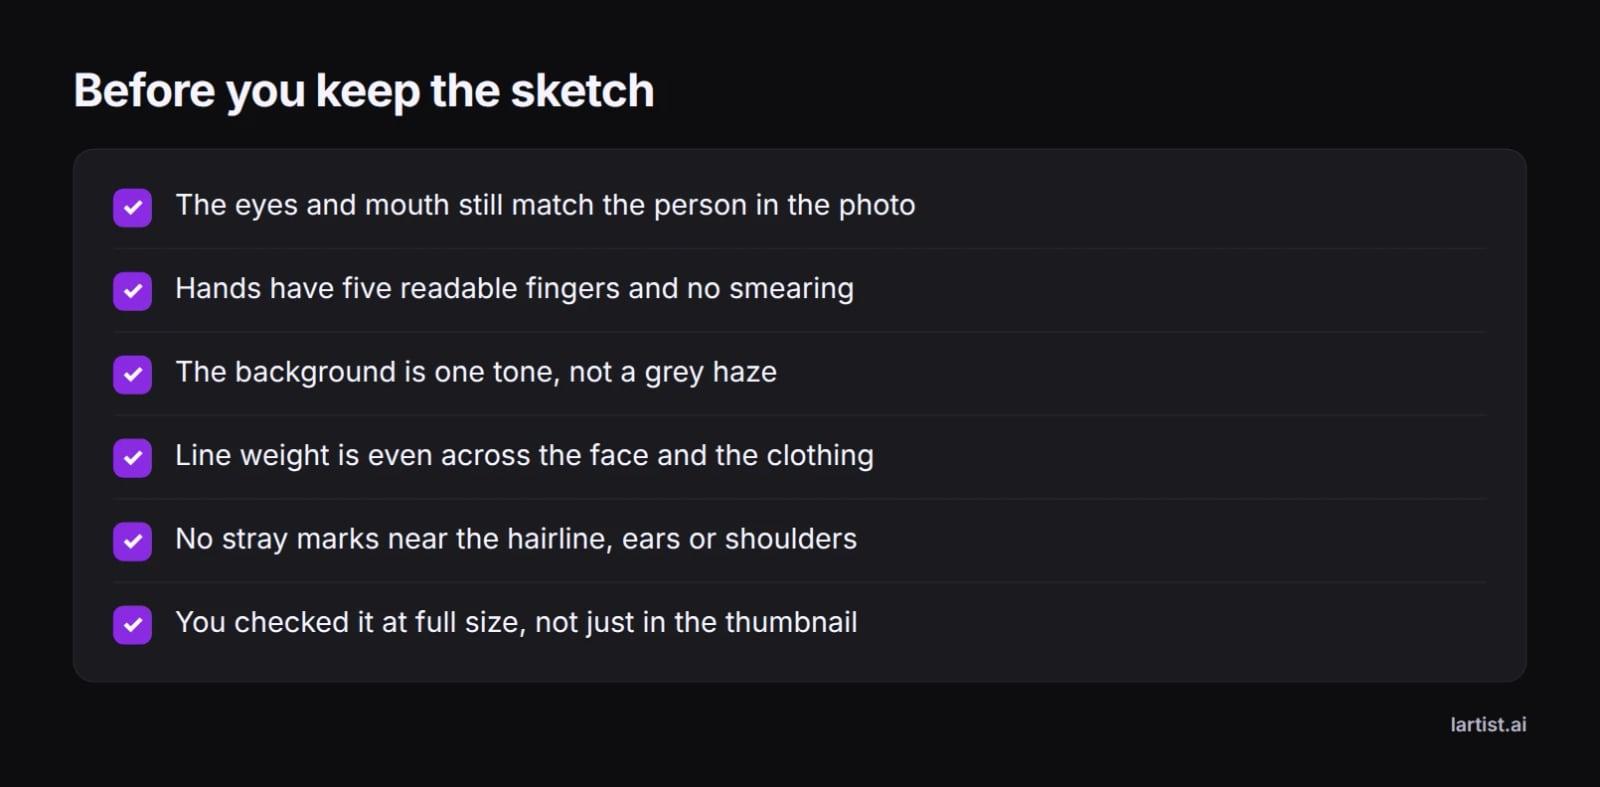
Zoom in before you keep it: a sketch that looks clean in a grid preview often shows stray marks along the hairline and the shoulders. Run the checklist on every picture in a set, because faults repeat across a batch from the same style.
Put the sketch to work
A sketch turns a photograph into something that reads as an illustration rather than a snapshot, which is why it works in listings, portfolios, gifts and client decks.
For property, a sketched room or front elevation gives buyers a cleaner read than a cluttered photo, and it pairs with the moves in our guide to real estate photo editing.
For designers, line drawings travel well. PromeAI's page lists clothing layout diagrams and simple line illustrations as everyday uses, and the same output holds up in a portfolio or a pitch.
Going the other way, from a rough drawing to a finished picture, is sketch to image. Restyle can also apply a coloured art style in the same studio, with no second tool.
There is more on what Lartist is built for.
FAQ
Is image to sketch AI free?
Partly. The page-one converters range from completely free to free to start, and on the second kind only the first result is usually free. Lartist works on credits: every sketch spends them, and the pricing page shows what each plan includes.
Can I convert a photo to a pencil sketch without downloading an app?
Yes. imageonline.co, kaze.ai, Bylo.ai, VanceAI and PromeAI all run in the browser, and Lartist works the same way: open lartist.ai, upload the photo and work in the tab. There is nothing to install, and the interface comes in English, French and German.
What is the difference between image to sketch and sketch to image?
Direction. Photo in, drawing out is image to sketch, where edges become lines and shading becomes hatching. Drawing in, picture out is sketch to image, which adds colour and detail to your lines. After a sketch, Lartist's studio editor fixes heavy lines, stray marks, a blurred face or a grey background from your description.
Which photos make the best pencil sketches?
Simple, evenly lit photos with a clear subject. A close portrait or a house shot straight on gives the tool less texture to throw away, so more of the likeness holds. Busy party shots, small figures in wide frames and heavy patterns lose the most when the picture becomes lines and shading.
Can I change the sketch after it has been generated?
Yes. In Lartist, restyle sets the pencil or line art look, and the studio editor redraws the picture from a description: heavy lines, stray marks, a blurred face, a grey background. One change per instruction works best, and nothing is lost if you change your mind about the style.
Will the sketch still look like the person in the photo?
Usually, if the face fills enough of the frame. Silhouette, pose and the big shapes survive, while freckles, fabric weave and single hairs turn into tone. Check the eyes and mouth at full size; if the likeness slips, describe the eyes and jaw in the studio editor and it redraws them.