How-To · 9 min read
Sketch to Image AI: Turn a Rough Doodle Into Finished Art
Turn a rough sketch into a finished picture with AI. Step-by-step: photograph the drawing, write the prompt, restyle it three ways and fix details in words.

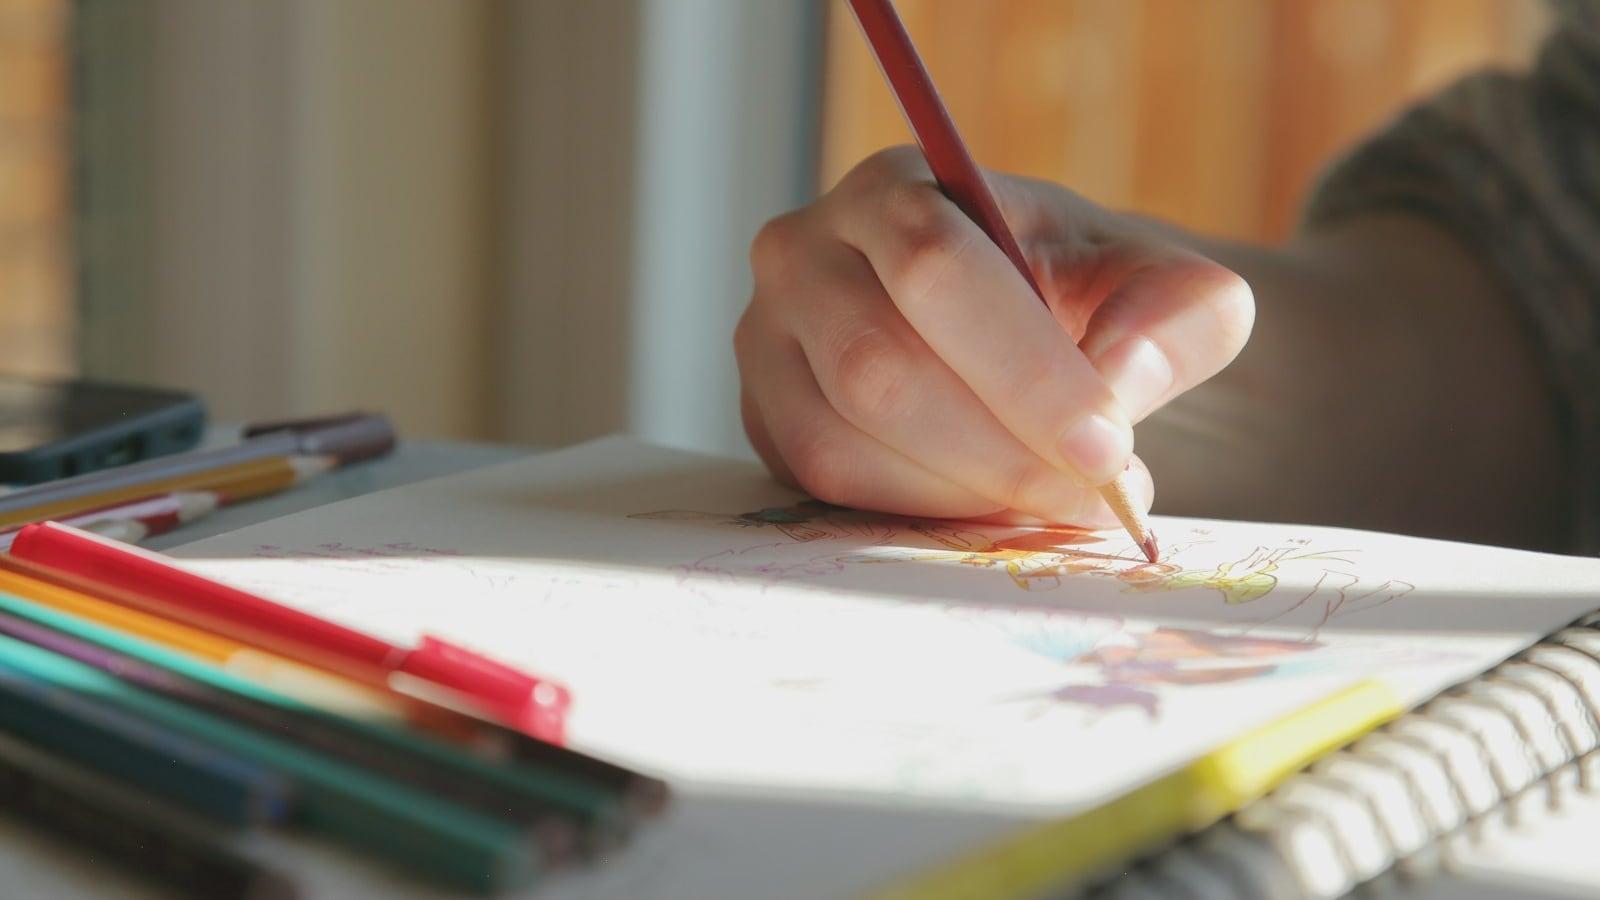
<!-- Editor note: the image list only includes the five existing names, so the requested before/after visual and the Lartist product image in Step 3 were not added; they need new image files. The weaver photo is moved and its alt text now describes what it shows. No sketch to image studio URL was supplied, so the call to action links the homepage (/). -->
Sketch to image AI reads the lines of your drawing as a layout and paints a finished picture on top of them. A short description sets the style, colours and subject. Imgkits and PromeAI both say their results arrive in seconds. Here is how to do it:
- Draw your sketch with clear outlines.
- Scan it or take a flat, well-lit phone photo.
- Upload it to a sketch to image tool.
- Describe the subject, style and colours in one or two sentences.
- Generate, then fix details or try another style.
To try it now, open Lartist's sketch to image in your browser. There is nothing to install.
What sketch to image AI does (and how to use it in 5 steps)
The AI keeps your composition, meaning where things sit in the frame. It fills in what your lines leave open: colour, texture, material and light. The more your lines and words say, the less it has to guess.
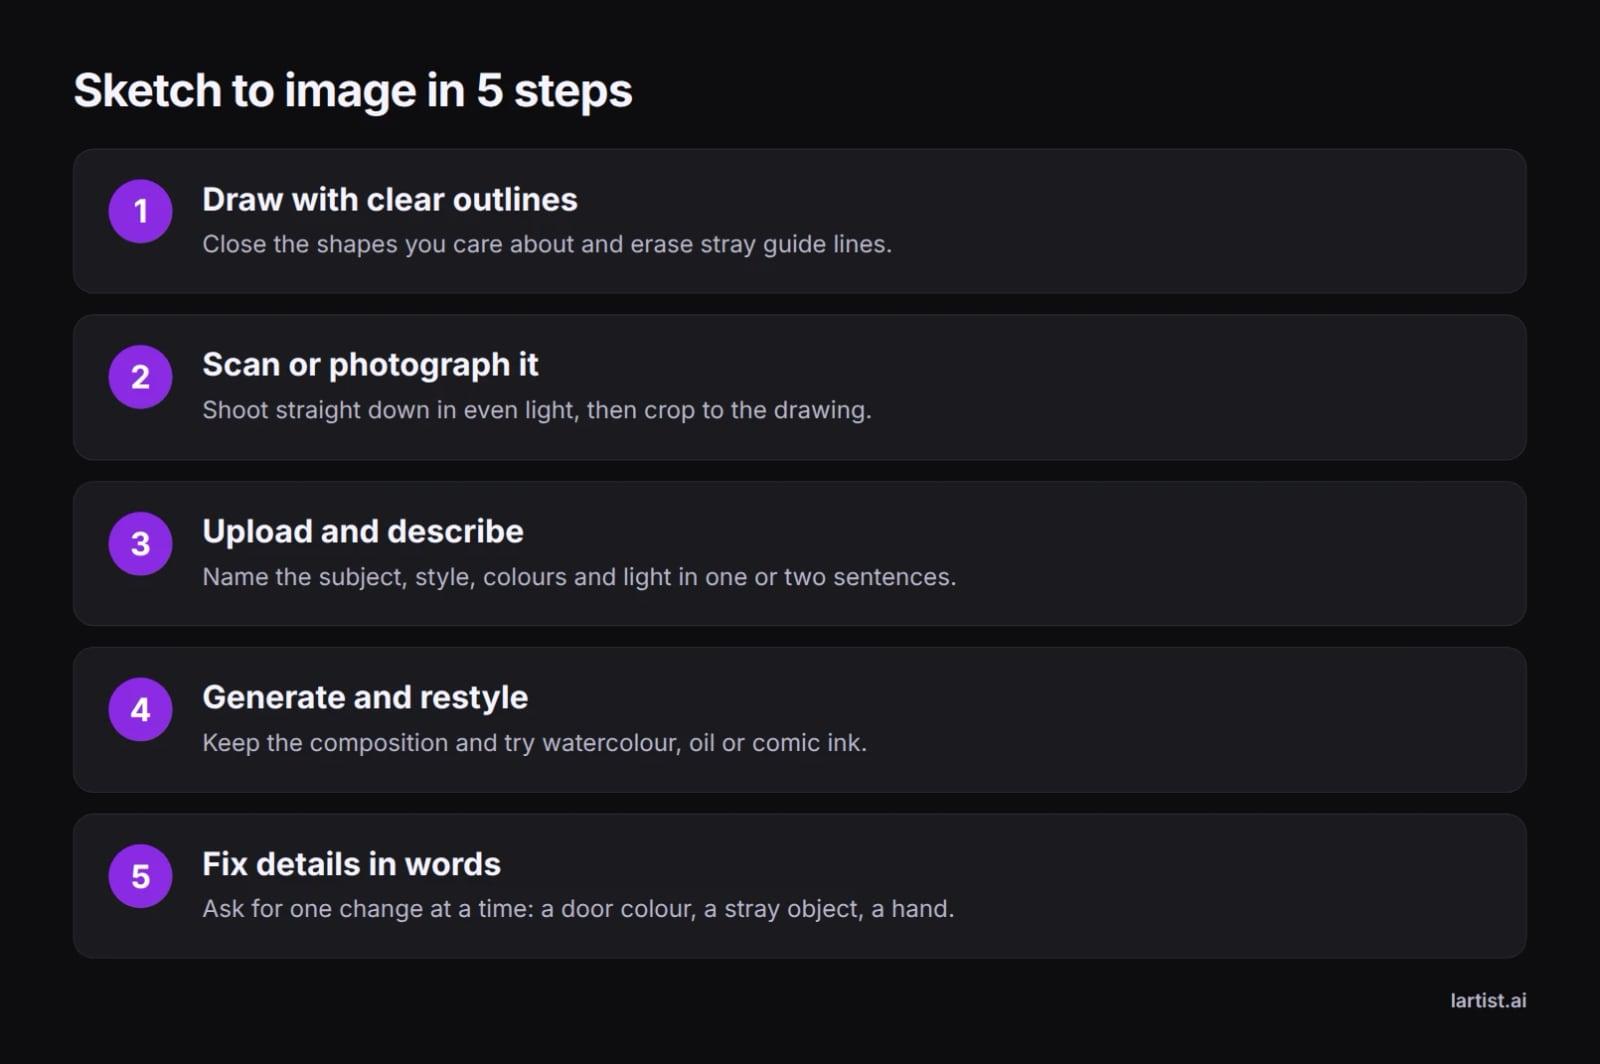
This guide follows one rough doodle through all five steps: a small cottage with a path, a tree and a cloud. The same doodle becomes a watercolour, an oil painting and a comic-ink picture. Here is how line clarity and prompt detail change the brief.
Some people searching for this want the opposite: a photo turned into a pencil drawing. Fotor and Adobe Firefly offer that direction, and Fotor lists 16+ sketch styles. This guide is about sketch in, finished image out. For photo to sketch, jump to the comparison table.
Step 1: Get a clean photo or scan of your sketch
The AI only sees what is in your file. A shadow, a table edge or a faint line can all end up in the picture, so a clean capture saves you several rounds of regenerating.
Phone photo or scanner?
Either works. A scanner gives you flat, even light with no effort. A phone works just as well if you shoot straight down, in daylight or under a lamp placed to one side, so your hand and phone cast no shadow on the paper.
If you draw on a tablet, export the doodle straight as an image file. No photo needed.
Paper, pencil and lighting tips
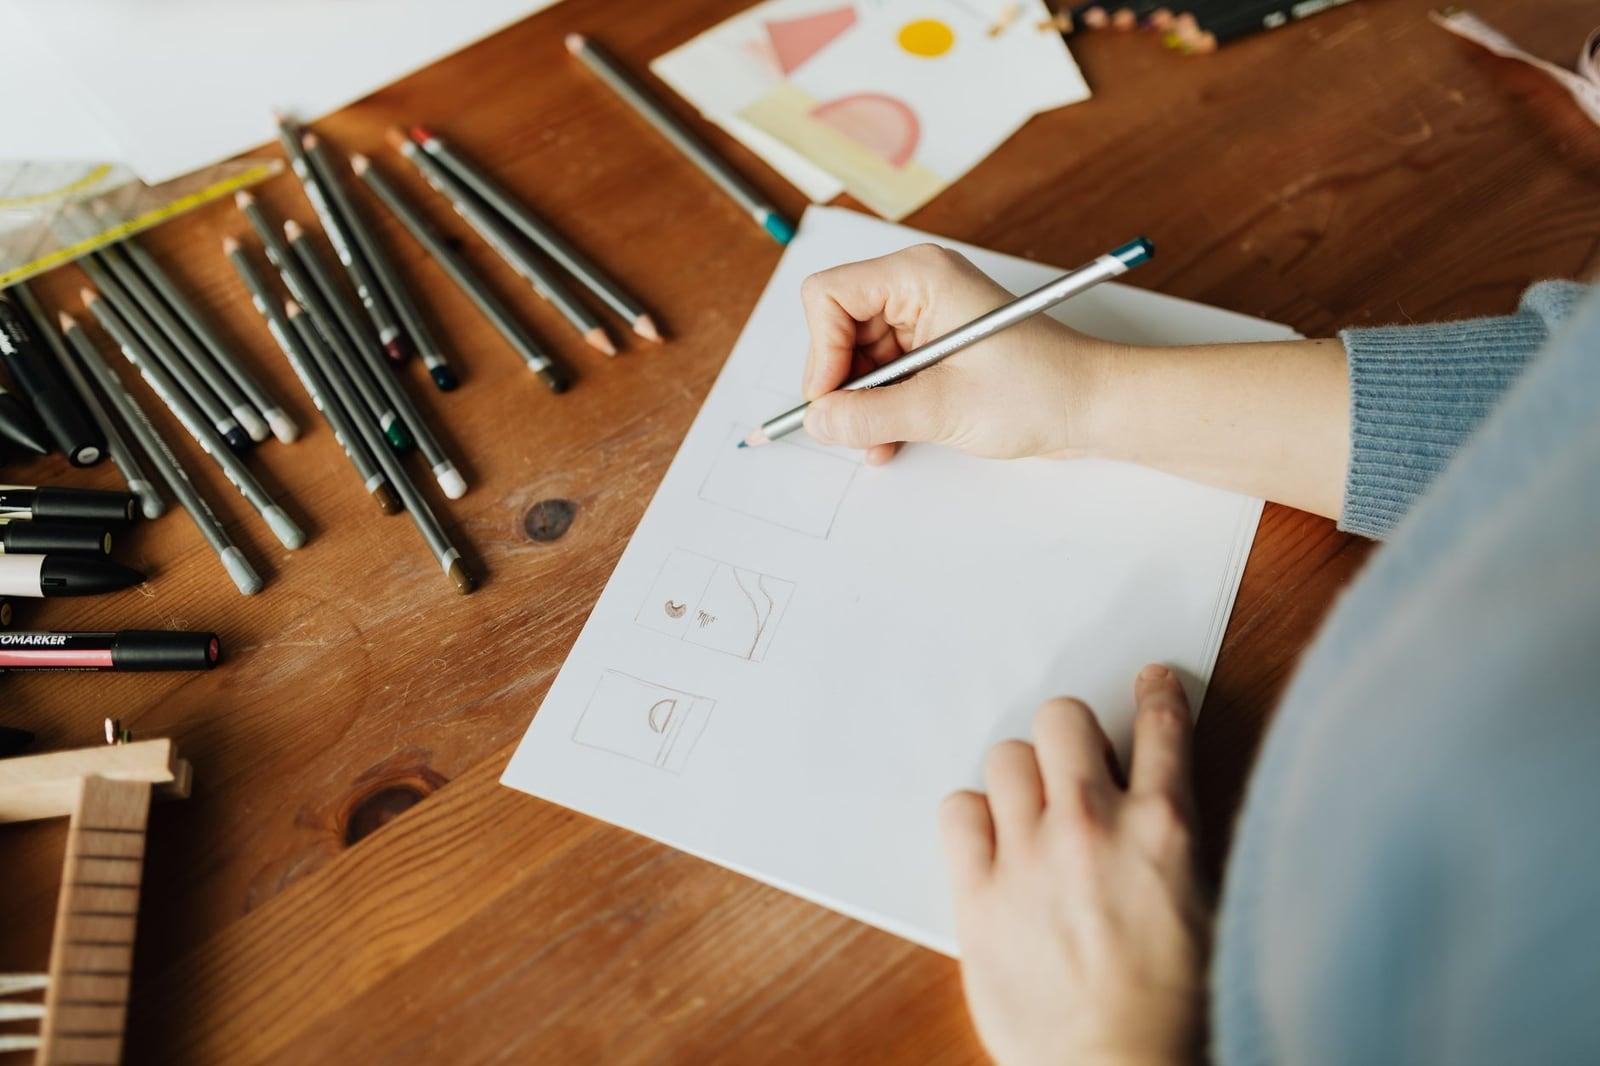
- Darken faint lines. Go over the shapes you care about with a pen or a soft pencil before you photograph them.
- Erase guide lines. Stray construction lines can turn into objects you never meant to draw.
- Crop tightly. Remove the table edge, spiral binding, ruled lines and coffee stains. The AI may read them as part of the scene.
- Use plain paper where you can. Lined or squared paper adds patterns the AI has to ignore.
Imgkits states the core rule plainly: clear, well-defined sketches give the best results.
How line clarity changes the result
This is the part most tool pages skip. The AI treats your lines as instructions. Closed shapes tend to become objects. Open scribbles tend to become texture or get ignored. Overlapping lines can merge two objects into one.
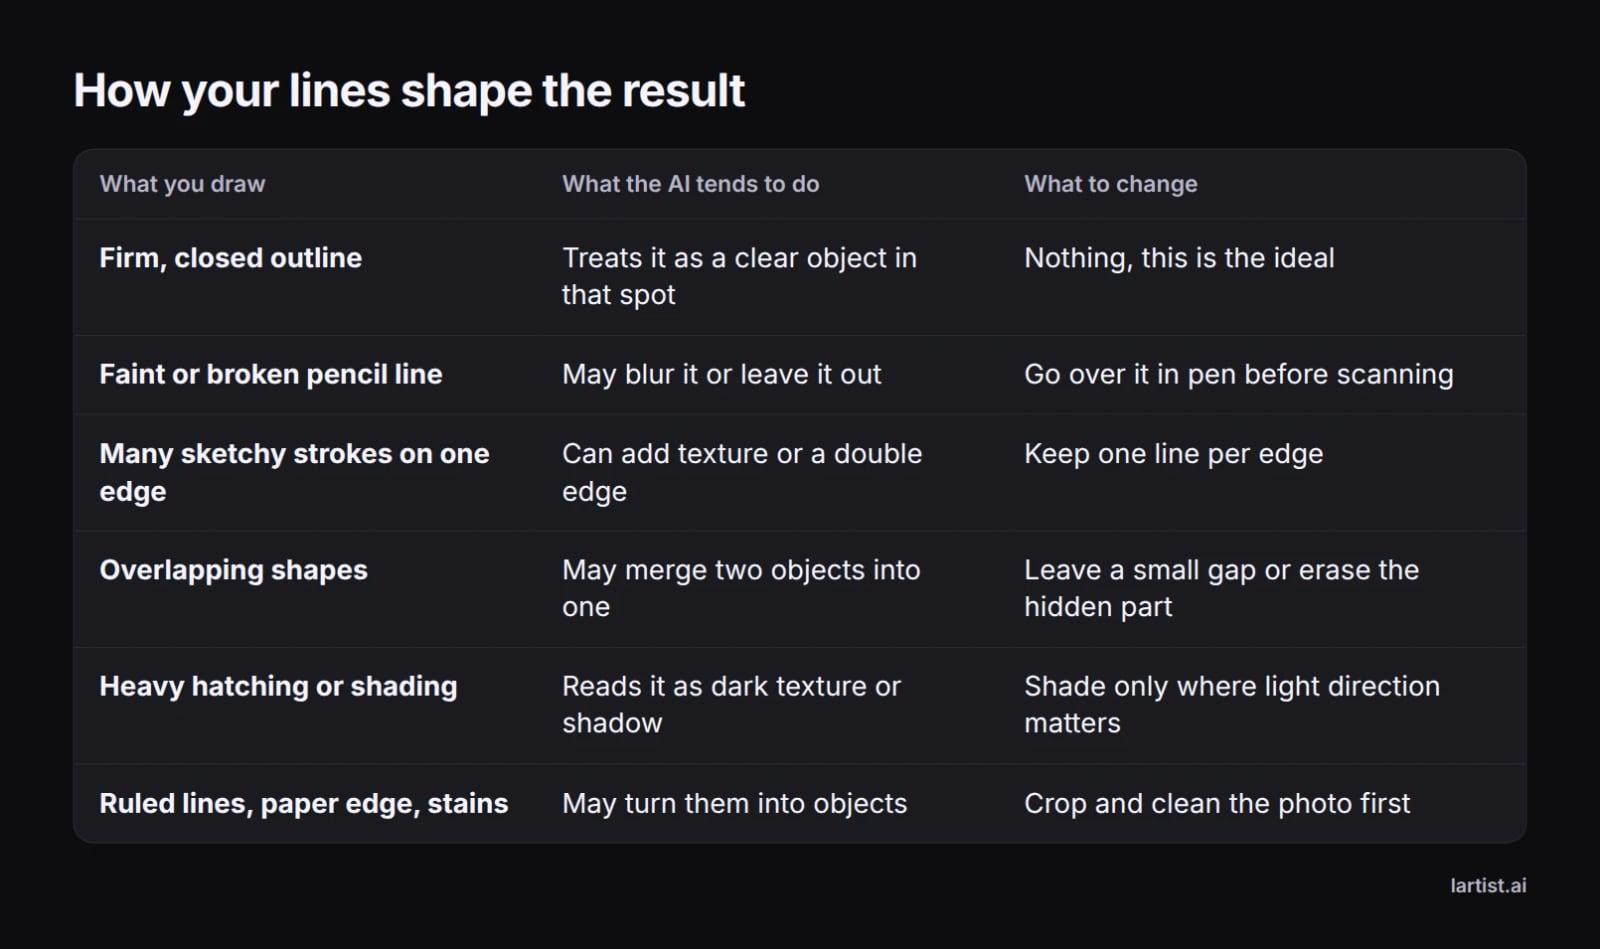
Take the cottage doodle. Drawn with faint, broken pencil, the outline of the house is vague, so the AI may give you a soft, uncertain building and a tree that blends into the cloud behind it. Drawn with one firm line per edge, the roofline sits where you put it, the door appears where you drew the door, and the tree stays a tree.
A practical rule follows from that:
- Outline the shapes you care about with firm, closed lines.
- Leave shading to the AI, unless the direction of the light matters to you.
- Keep one line per edge instead of many sketchy strokes.
- Leave a small gap between overlapping shapes, or erase the hidden part.
Rough doodles and stick figures are fine for setting the composition. Imgkits says its tool handles simple doodles, detailed drawings and abstract designs. Faces and hands are the exception: they need more line detail, or a fix afterwards in words (see step 5).
Step 2: Write a prompt that fills the gaps
A sketch shows shape. It does not show colour, material, light or mood. Your description supplies those. Imgkits suggests style examples such as "watercolor effect" and "modern minimalist", and the same idea applies to any sketch to image tool.
The four things to name
- The subject. "A small stone cottage", not "a house".
- The style. Watercolour, oil painting, comic ink, or a photo-realistic render if you want it to look like a photograph.
- The colours and light. Warm sunset, soft morning fog, cool winter daylight.
- What the lines cannot show. Ivy on the walls, smoke from the chimney, wet cobbles on the path.
Weak vs strong prompts for the same sketch
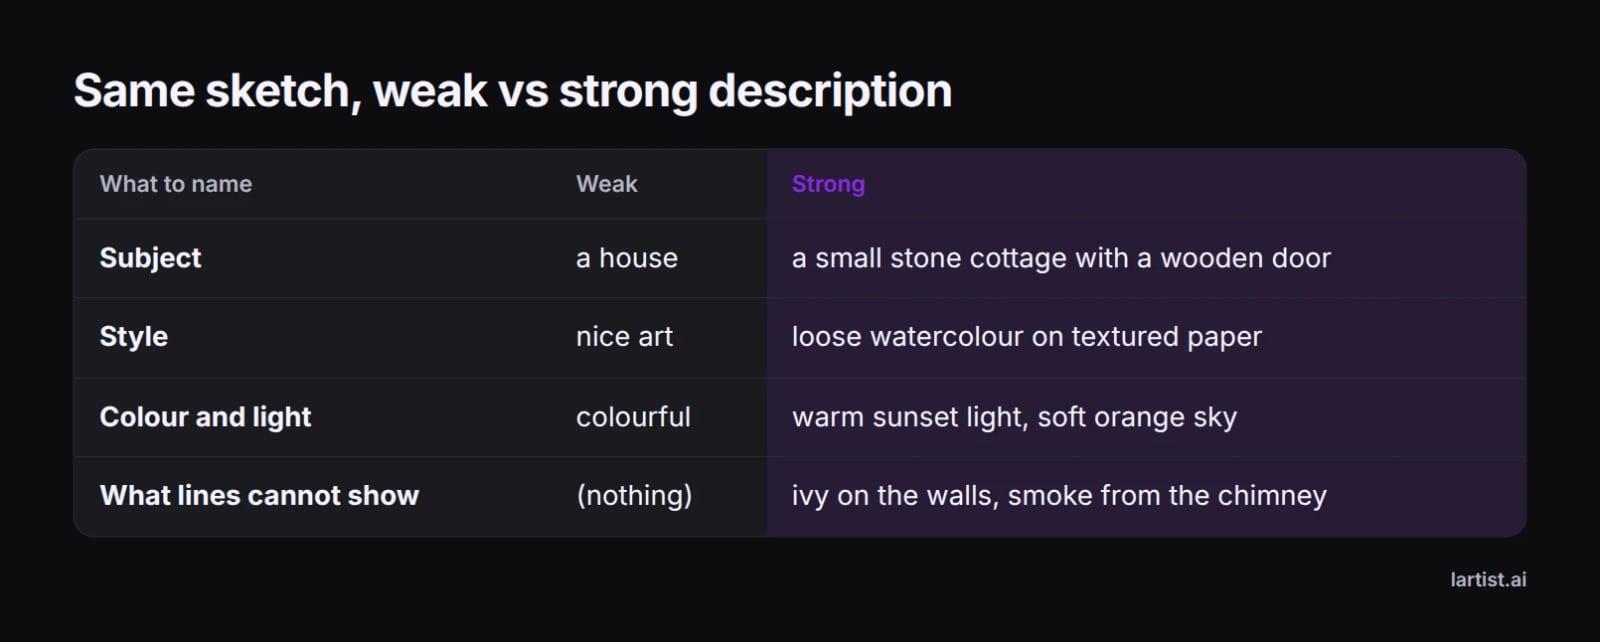
Put together, the strong version for the cottage reads: "A small stone cottage with a wooden door and ivy on the walls, loose watercolour on textured paper, warm sunset light with a soft orange sky and smoke rising from the chimney."
Keep it to one or two sentences. Long lists of adjectives fight each other, and one clear style word does more than five vague ones.
Step 3: Sketch to image in Lartist
Lartist is an AI art studio that runs in the browser, so there is nothing to download or install. The interface is in English, French and German.
- Open Lartist and choose sketch to image.
- Upload the photo or scan from step 1.
- Paste the description from step 2.
- Generate.
If the composition comes back wrong, for example a tree where the path should be, go back to the drawing and firm up those lines. Rewriting the prompt rarely fixes a layout problem, because the layout comes from your lines.
Every generation spends credits. Plans give you credits each month or each year, and credit packs top them up. See the plans to find one that fits how often you draw.
Step 4: Restyle the same result into three art styles
Once you like the composition, keep it and change only the look. In Lartist, restyle applies an art style to a picture, so you can try new finishes on the cottage you already have instead of starting again from the sketch.
The words under each style describe what to look for. If you would rather set the style from the start, put the same words in your step 2 description.
Watercolour
Soft edges and light washes. Good for storybooks, greeting cards and nursery prints. Look for: loose watercolour, paper texture, pale wash sky.
Oil painting
Thick brushwork and richer colour. Good for wall art and gifts. Look for: oil on canvas, visible brush strokes, warm golden light.
Comic ink
Bold outlines and flat colour. Because it keeps strong outlines, it suits pictures where you want the drawing to show through. Look for: inked outlines, flat colours, graphic novel panel.
Compare the three side by side before you edit any details. That way you only spend effort fixing the version you will keep.
Step 5: Fix details by describing them in words
In the Lartist studio editor you describe a change in words and it redraws the picture. You can fix a hand or a face, remove a stray object or repaint part of the image.
On the cottage, that might look like this:
- "Remove the extra window on the left wall."
- "Make the door red."
- "Add smoke coming from the chimney."
- "Make the tree fuller."
Send one change per instruction. You get a clearer before and after than with a long list in one go.
A common next step is to change the background of your finished image, for example swapping a plain sky for a forest at dusk.
If you want the picture to move, image to video in Lartist can turn the finished picture into a short clip of 3, 5 or 10 seconds at 720p, 1080p or 2k. For a wider look at the options, see our guide to the best image to video AI tools.
Sketch AI app or browser: downloading and sharing your image
Some sketch tools come as an app. Picsart, for example, describes its Sketch AI App. Others run on a website. Imgkits says you can download the high-resolution result and share it on social media, with clients or in your own projects.
If you would rather not download anything, a browser studio is the simpler route. Lartist runs in the browser, so there is no app to install before you upload your first sketch.
Sketch to image AI tools compared
Here is what each tool on the first page of results says about itself. This table describes direction and stated features only, not quality or speed.
Several of these pages put "free" in their titles. What that covers varies, so check each site's terms.
Sketch to image vs photo to sketch: which do you need?
- You have a photo and want a drawing: you want photo to sketch. Fotor and Adobe Firefly work in that direction.
- You have a drawing and want a finished picture: you want sketch to image. Imgkits, PromeAI, Picsart and Lartist work in that direction.
- You are rendering a design concept: architects and designers often want photo-like renders of the kind PromeAI describes. For rooms, read our guide on turning a room sketch into a buildable plan.
The best tool is the one that works in the direction you need and lets you keep refining after the first result.
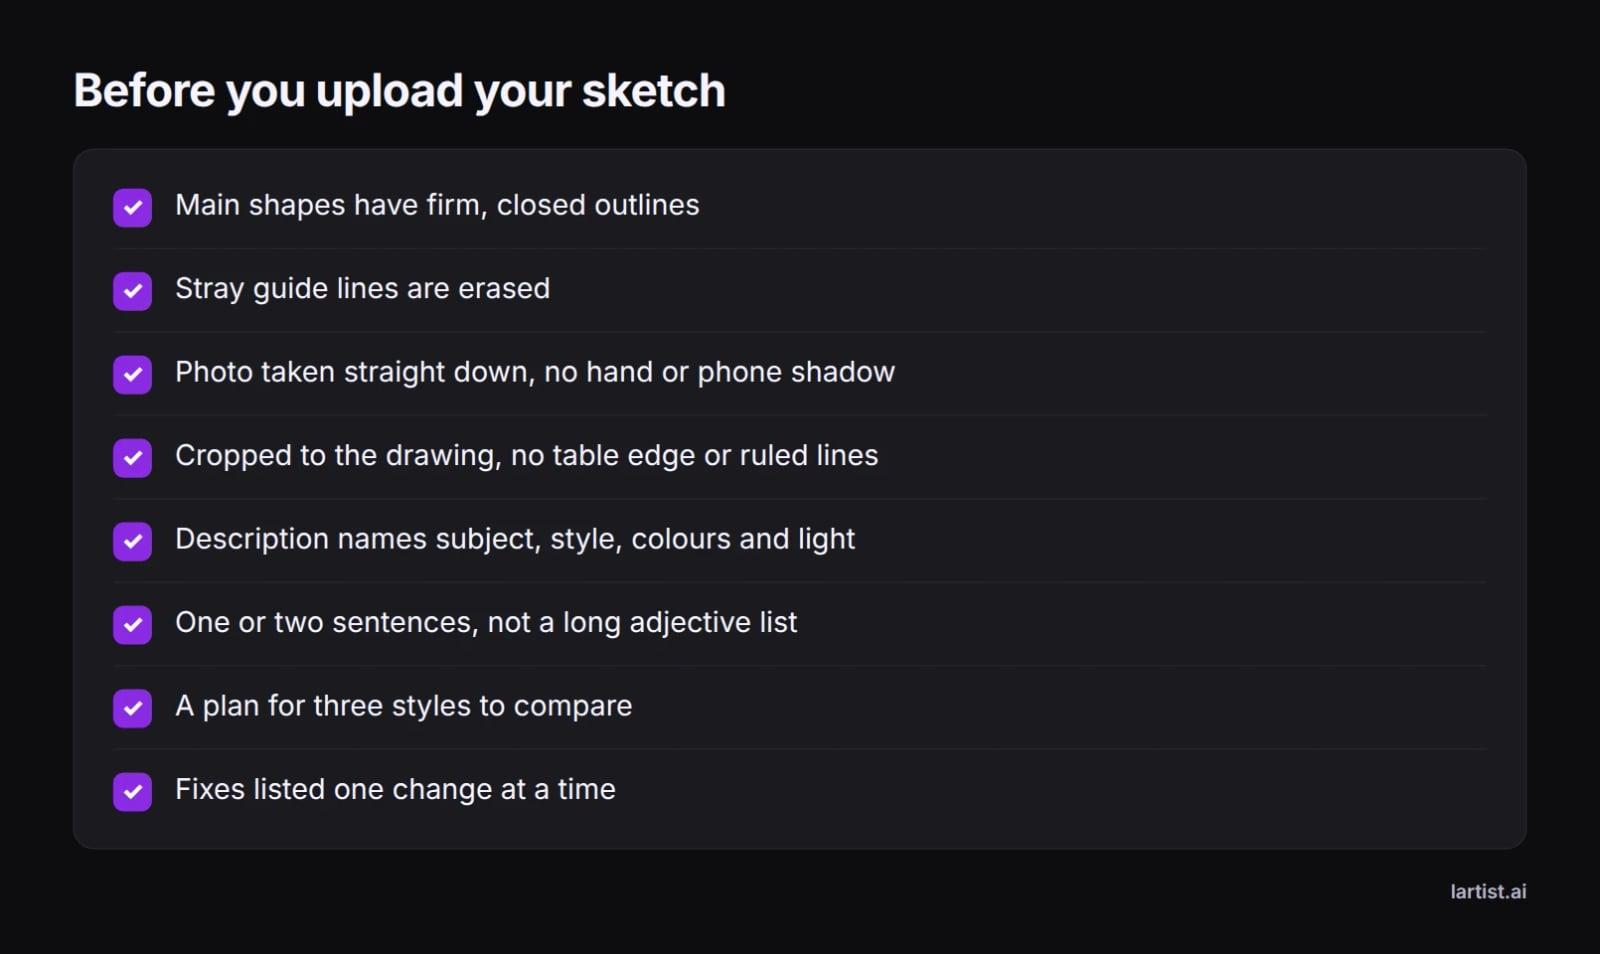
Before you upload: a quick checklist
If you skipped straight here, this sums up steps 1 and 2.
Your original drawings are your work, so think about where you share them. Our guide explains how to protect your original drawings and your accounts. To learn more about the studio, read why artists use Lartist, or open sketch to image and turn your first doodle into a finished picture.
FAQ
Is there a free sketch to image AI?
Several sketch AI pages use "free" in their titles, including Imgkits, Fotor, OpenArt and Adobe Firefly. What that covers differs from site to site, so read each site's terms before relying on it. Lartist spends credits on every generation, with credits included in monthly or yearly plans. See the plans for the options.
Can AI turn a hand-drawn sketch into a realistic photo?
Yes, if you ask for it in your description. PromeAI describes turning sketches into photo-like renders, and Imgkits talks of polished photos. Add words such as "photo-realistic" plus the materials and light you want. Faces and hands usually need firmer lines or a fix in words afterwards to look convincing.
Are AI sketch to image results high quality?
Much depends on what you give the AI. Imgkits says its AI is trained on a large library of visual styles and offers high-resolution downloads. In any tool, firm closed lines and a specific one or two sentence description leave less to guess, so the result is closer to what you pictured.
What kind of sketch works best for sketch to image AI?
A clear sketch with firm, closed outlines works best. Keep one line per edge, erase guide lines, and shade only where light direction matters. Photograph it straight down in even light and crop out paper edges and ruled lines. Rough doodles still work for composition, but faint lines give vague results.
Can I choose the style or theme of the finished image?
Yes, you set the style in your text description. Name it plainly, such as loose watercolour, oil on canvas or comic ink, and add colours and light. In Lartist you can also use restyle to apply a different art style to a picture you already like, rather than starting again.
Do I need to download a sketch AI app?
Not always. Some tools, such as Picsart, offer an app, while others run in the browser. Lartist's studio runs in the browser, so there is nothing to install. Imgkits says you can download your finished image in high resolution and share it with friends, clients or on social media.
How is sketch to image different from photo to sketch?
They work in opposite directions. Sketch to image takes your drawing and paints a finished picture from it, as Imgkits, PromeAI, Picsart and Lartist do. Photo to sketch takes a photograph and turns it into a pencil or line drawing, which is what Fotor and Adobe Firefly offer.
Can I turn my sketch into a video?
Yes, in two stages. First turn the sketch into a finished picture, then use image to video. In Lartist, image to video makes clips of 3, 5 or 10 seconds at 720p, 1080p or 2k, and credits depend on length and resolution. Start from the version you like best.